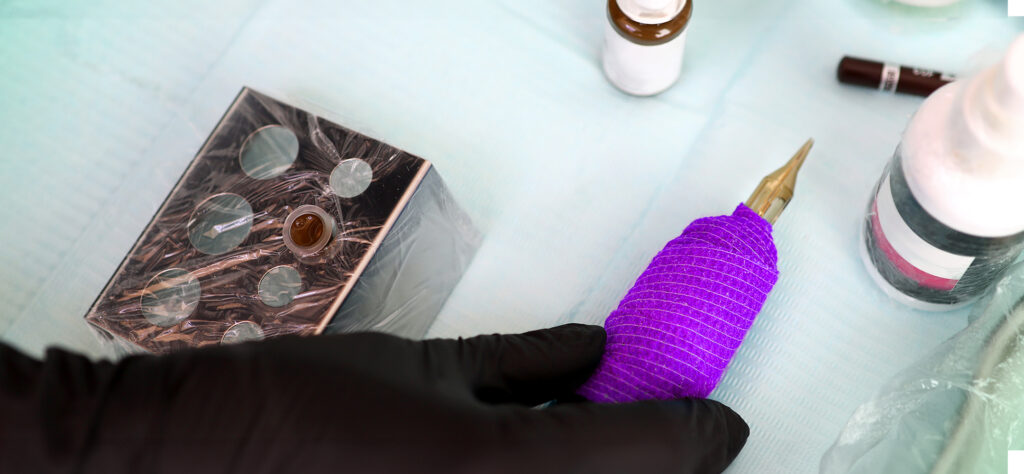
How To Set Up Your PMU Work Tray
Preparing for procedures is one of the first and most important parts of your day-to-day life as a permanent makeup artist, and nothing interferes with a procedure more than an improperly prepared work tray!
Everything you need should be ready, within arm’s reach, and sterilised for the protection of yourself and your client. Failure to set up your work station correctly can jeopardise yours and you clients safety, as well as your overall reputation.
Sanitising Your Surface
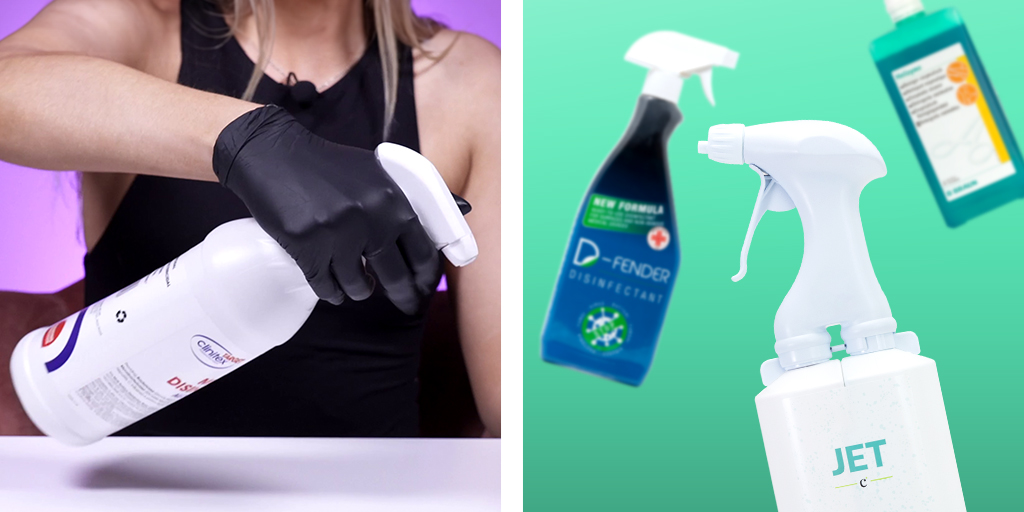
Start off by ensuring that your work tray is sterile. Whether you’re using a trolley or tray, give the surface a thorough cleaning with a hard surface disinfectant or cleaning solution, then cover it in cling film or surface protection sheets. You can also use a new disposable work tray for every treatment for maximum ease and convenience.
Protecting Your Machine
Pigments and other fluids can get into the cracks and cartridge holes of your PMU machine and cause the motor to malfunction, so getting seamless coverage over your machine is incredibly important! It will also reduce the risk of any contamination of your machine and equipment.
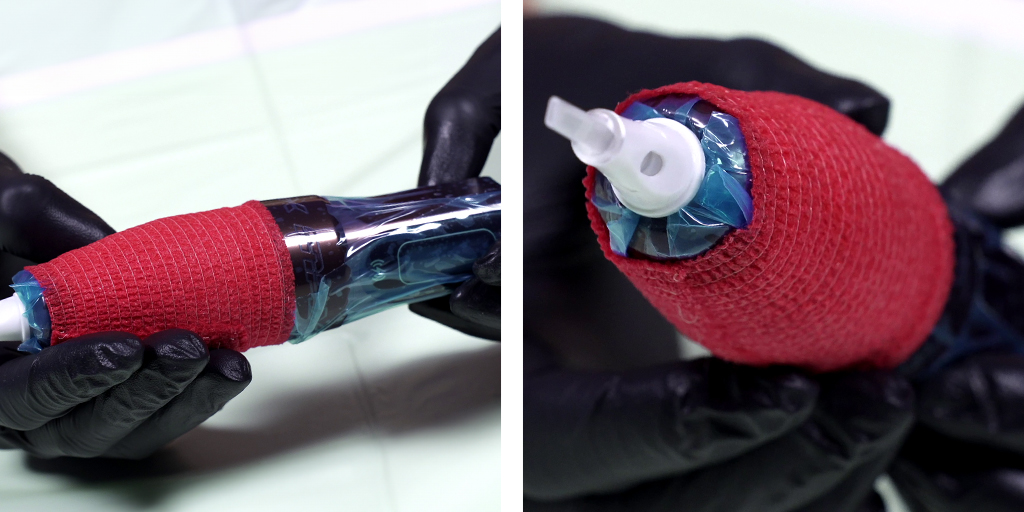
Wrap your machine in barrier film or pre-cut barrier grip sleeves, making sure to fully cover any gaps. Cover the cartridge end of your machine completely, then use the cartridge itself to pierce the film to create a tight seal. If you’re using a wireless PMU machine, you can cover it all over in barrier film, but if you’re using a cable don’t forget to wrap that as well.
Finally, make the machine comfortable by using grip wrap to build a cushion around the grip - make it as large as you need to make for an ergonomic hand hold while you work.
You can also use disposable grips with your choice of tattoo machine, in which case you’ll only need to cover connections and the non-disposable parts. After the treatment, you can dispose of the grips in your clinical waste.
Protecting Yourself
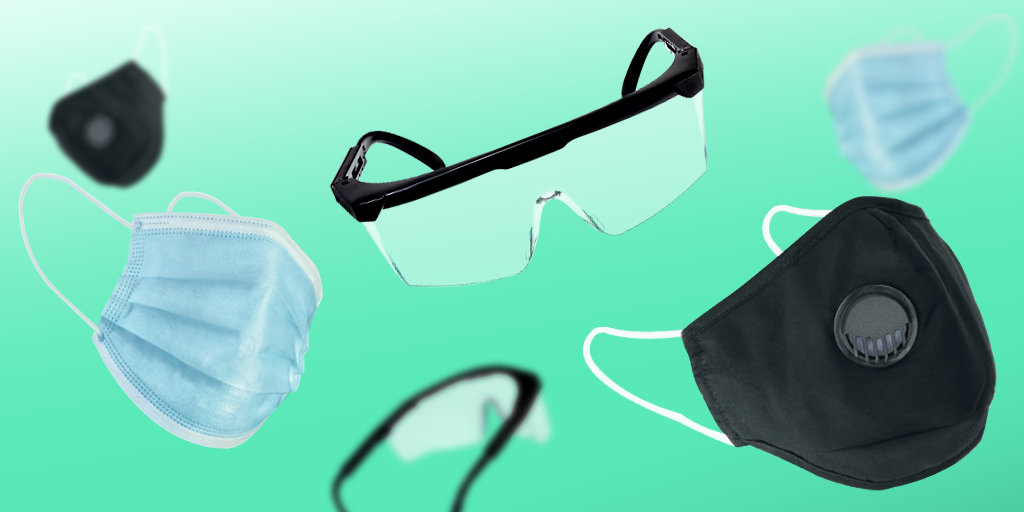
Make sure that you have sufficient PPE for your procedure - gloves and face masks are essential, but you may want to go the extra mile and wear a hair net too. Disposable plastic aprons are a great way to keep your clothes clean and prevent cross-contamination without hassle.
If you think you might need to touch anything else during the appointment, cover it now with barrier film - this includes lamp buttons, chair levers and cabinet handles. If you do touch something that isn’t covered, change your gloves immediately.
Organising Your Essentials
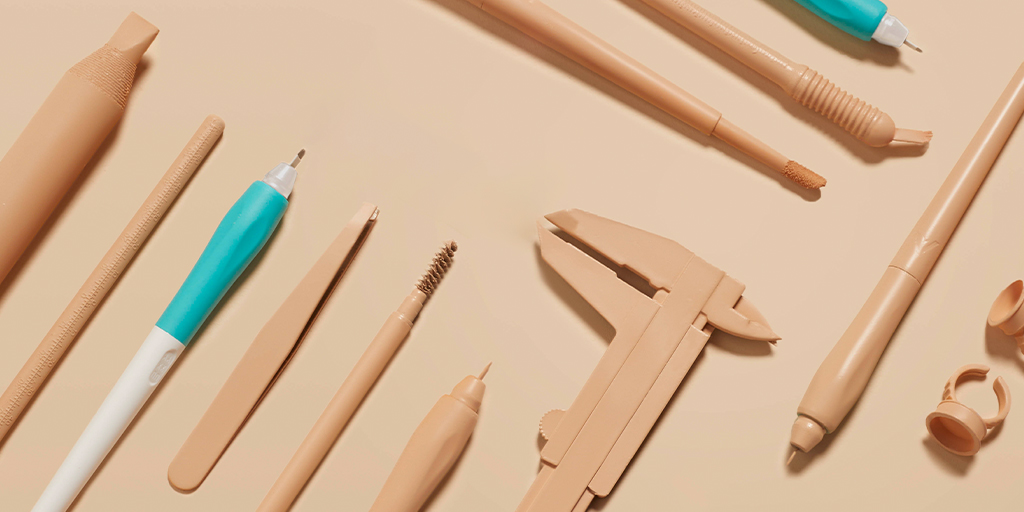
It’s best if you have everything you need laid out right next to you, so before you start, make sure that you have your mapping pencils, sharpeners, and any additional tools you need before the procedure.
Think through your treatment, and get everything you need such as pigments, pigment caps, PPE, glide and soap. You can use vaseline or a glide to hold your pigment caps to the covered table to keep them secure when topping up pigment in the cups or on your needle.
Anything else you’re likely to touch should be sanitised and then wrapped in plastic, and even then you should make sure not to touch anything without gloves.
Opening Your Cartridges
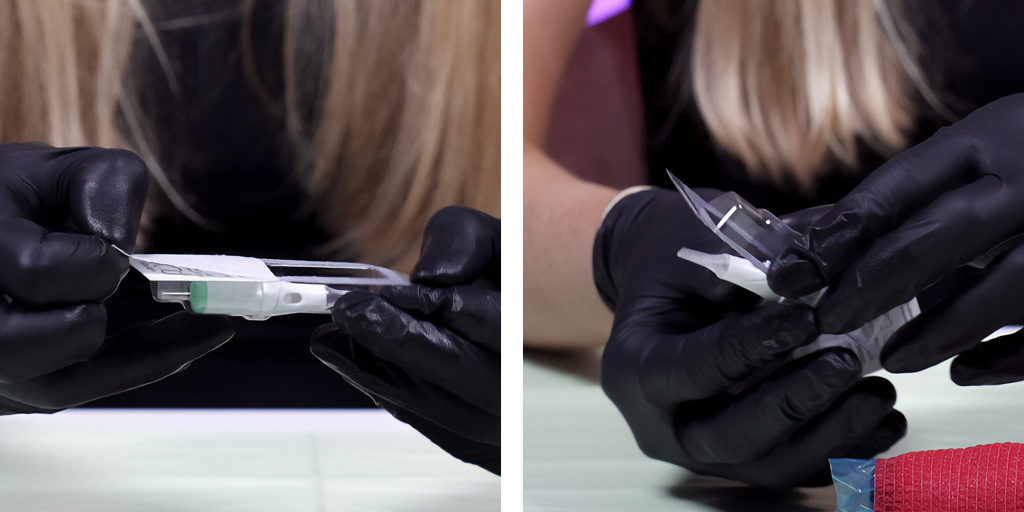
PMU cartridges come individually pre-sterilised, so hold off on opening that packet until you’re ready to start - not only will it prevent cross-contamination, it lowers the likelihood of anyone being hurt by the sharp needles.
Prior to opening your needle cartridge from the blister packaging, you need to remove anything from your work tray that isn’t wrapped or disposable. This includes mapping tools, pencils and pigment bottles. Once you begin to tattoo and the skin is broken, anything on your work tray is at risk of contamination – meaning if it cannot be covered or disposed of immediately, it is unsafe to be on your workstation and would need to be disposed of regardless.
And with that, you should have everything you need for an efficient, safe setup before PMU appointments!
